I am finally getting around to the Attic Room Box Project, again.
I am going to show you how I wallpapered and installed the electricity in it.
I first made a pattern for the side walls.
I cut the side walls out from 3/16" thick foam core.
I trimmed the form core where
needed.
I measured the short wall's width.
I thought that these two walls would look nice with the round windows that Hobby Builders has.
Measure the height.
Cut out the back walls.
Use tacky glue to glue on a strip of paper to the edge of the side wall.
I cut the strip about 1 1/2" wide. Center it so that you only glue on half of it.
I used a ruler to gently smooth out the glue.
Apply glue to the other half of the paper strip.
Glue the back wall to the paper strip.
The edge of the back wall should be setting on the face of the side wall.
Another picture showing the position of the back wall on the side wall.
Fold the side wall in and dry fit the assembly inside the room box.
Push the side wall against the wall of the room box.
Fold the back wall into place.
When I was building the room box I cut out two of the door wall. If you didn't do that you need to do that now.
To cover the raw edges of these side walls I cut a strip of card stock and glued it over the raw edges.
The strips are glued in and I am dry fitting the door wall.
I am using Itsy Bitsy Mini wall paper.
A Note: If you use copper tape for your electricity you will want to apply that before you wall paper the walls.
My YES glue was all dried up so I am using my Elmer's Extra Strength Glue Stick.
I know some of you don't approve. I liked because I could apply the glue a little at a time. I applied a lot of the glue stick to the surface. I then smoothed and pressed the wall paper to the surface of the foam core.
I trimmed the wall paper to fit.
I have not glued the wall in, I am dry fitting.
Wall paper the window wall. Cut out the hole where the window will be placed.
Measure the walls that are on the side of the door wall and cut your wall paper to fit.
Glue the wall paper onto the door wall.
The door wall turned over.
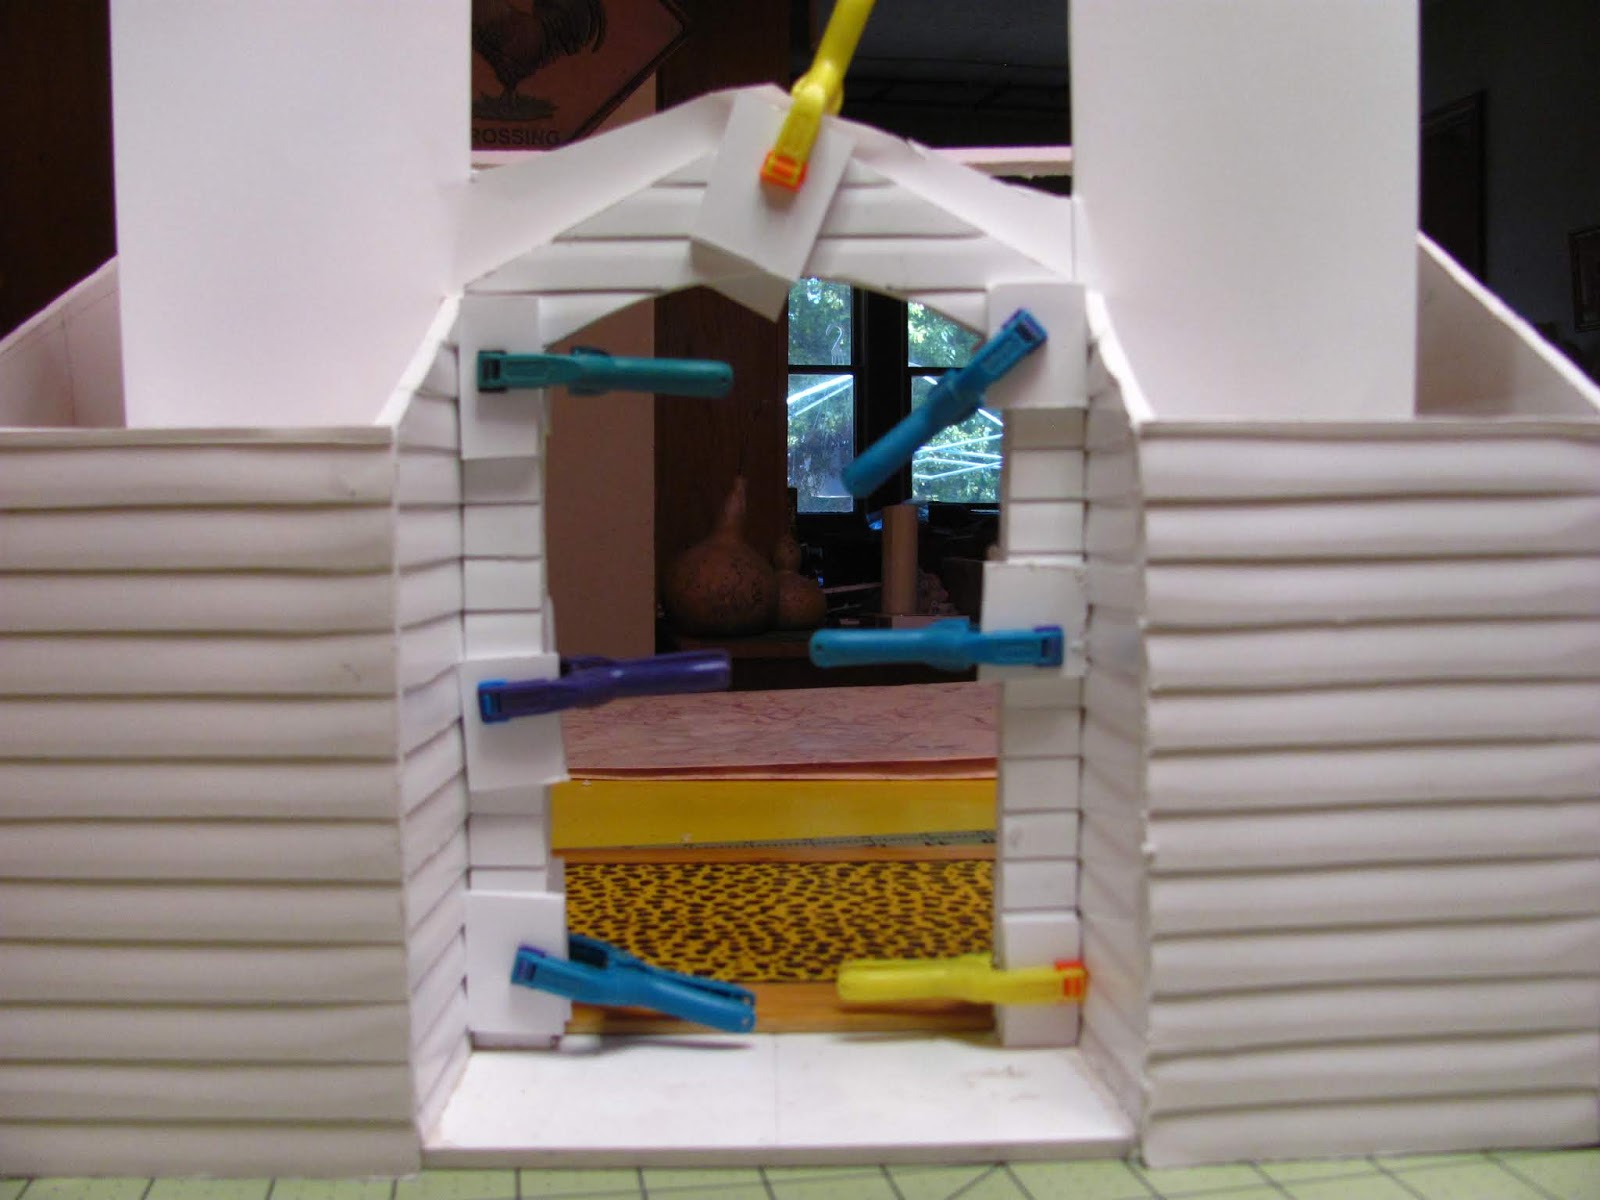
Use tacky glue to glue the door wall into place.
I clamped the wall to dry. I put pieces of foam core under the mouths of the clamps so the clamps would not leave marks on my walls.
The outside.
After the wall was good and secure I glued the wall paper to the side walls of the door.
Dry fitting the side wall. Looks pretty good.
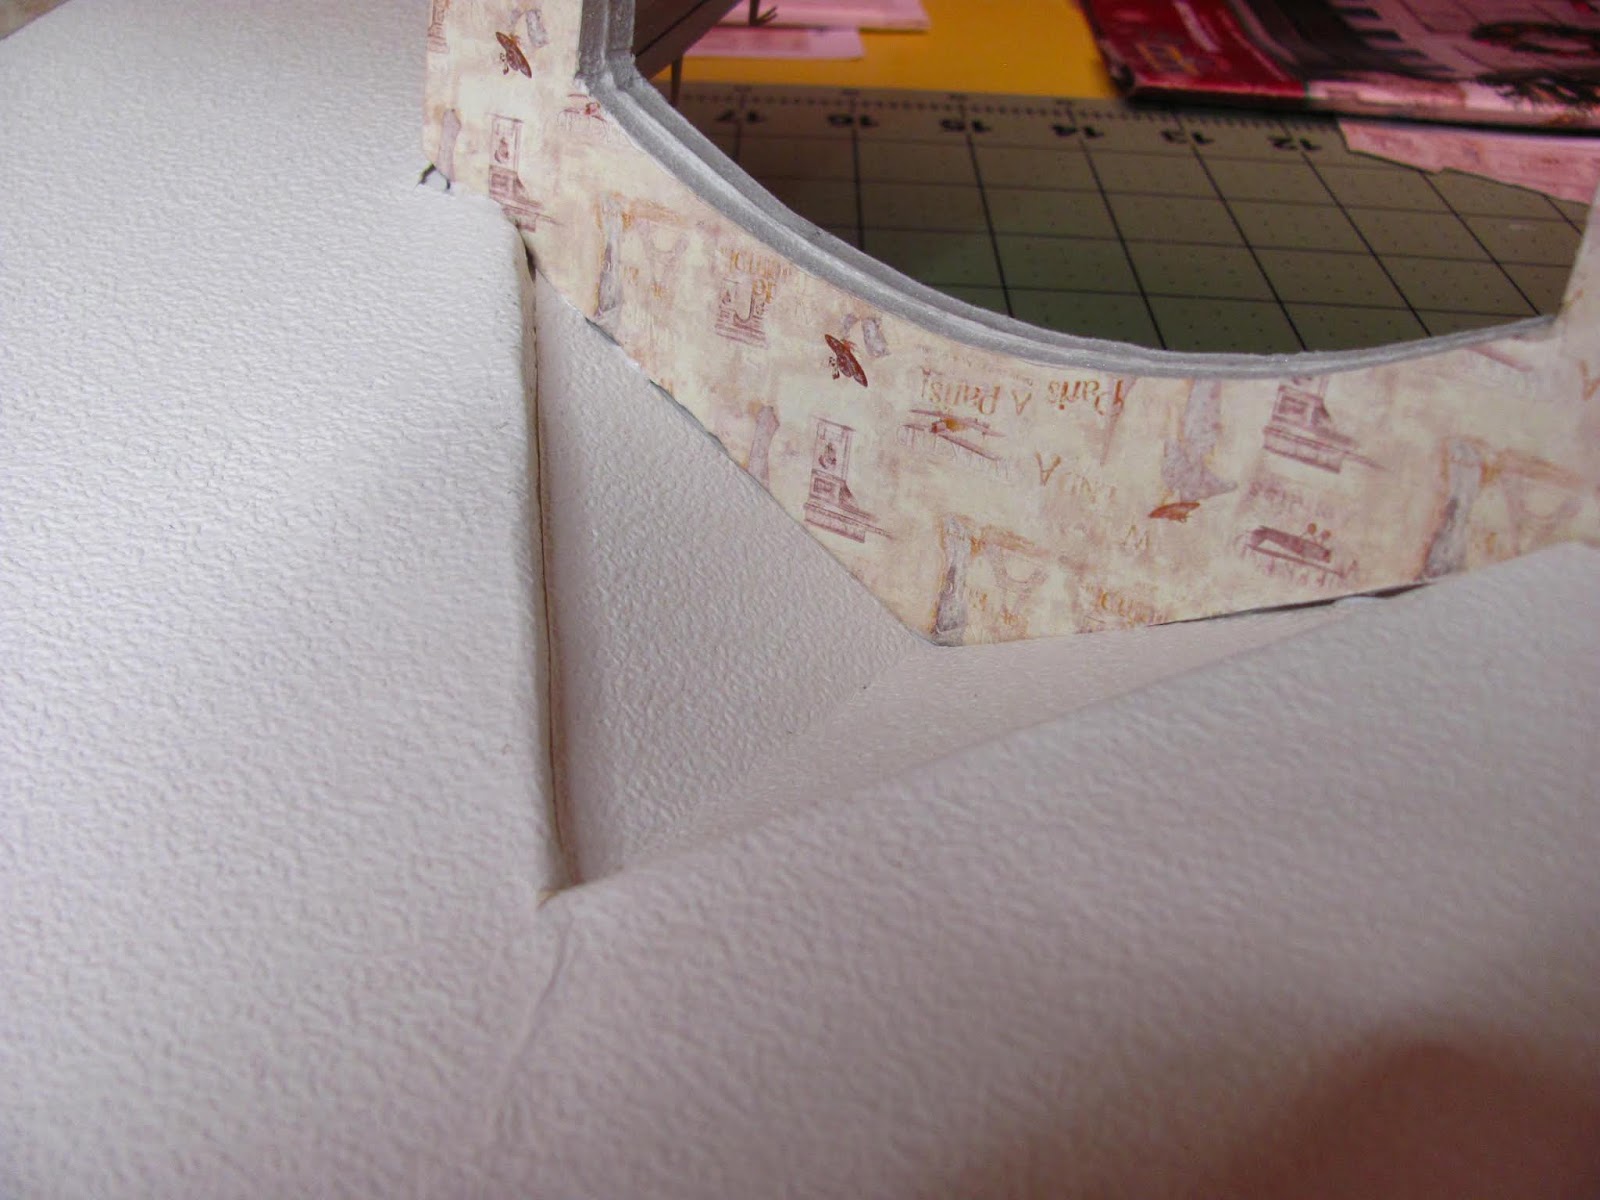
This seam won't be very noticeable when I am done.
When looking at the room straight on you can't see that inside corner.
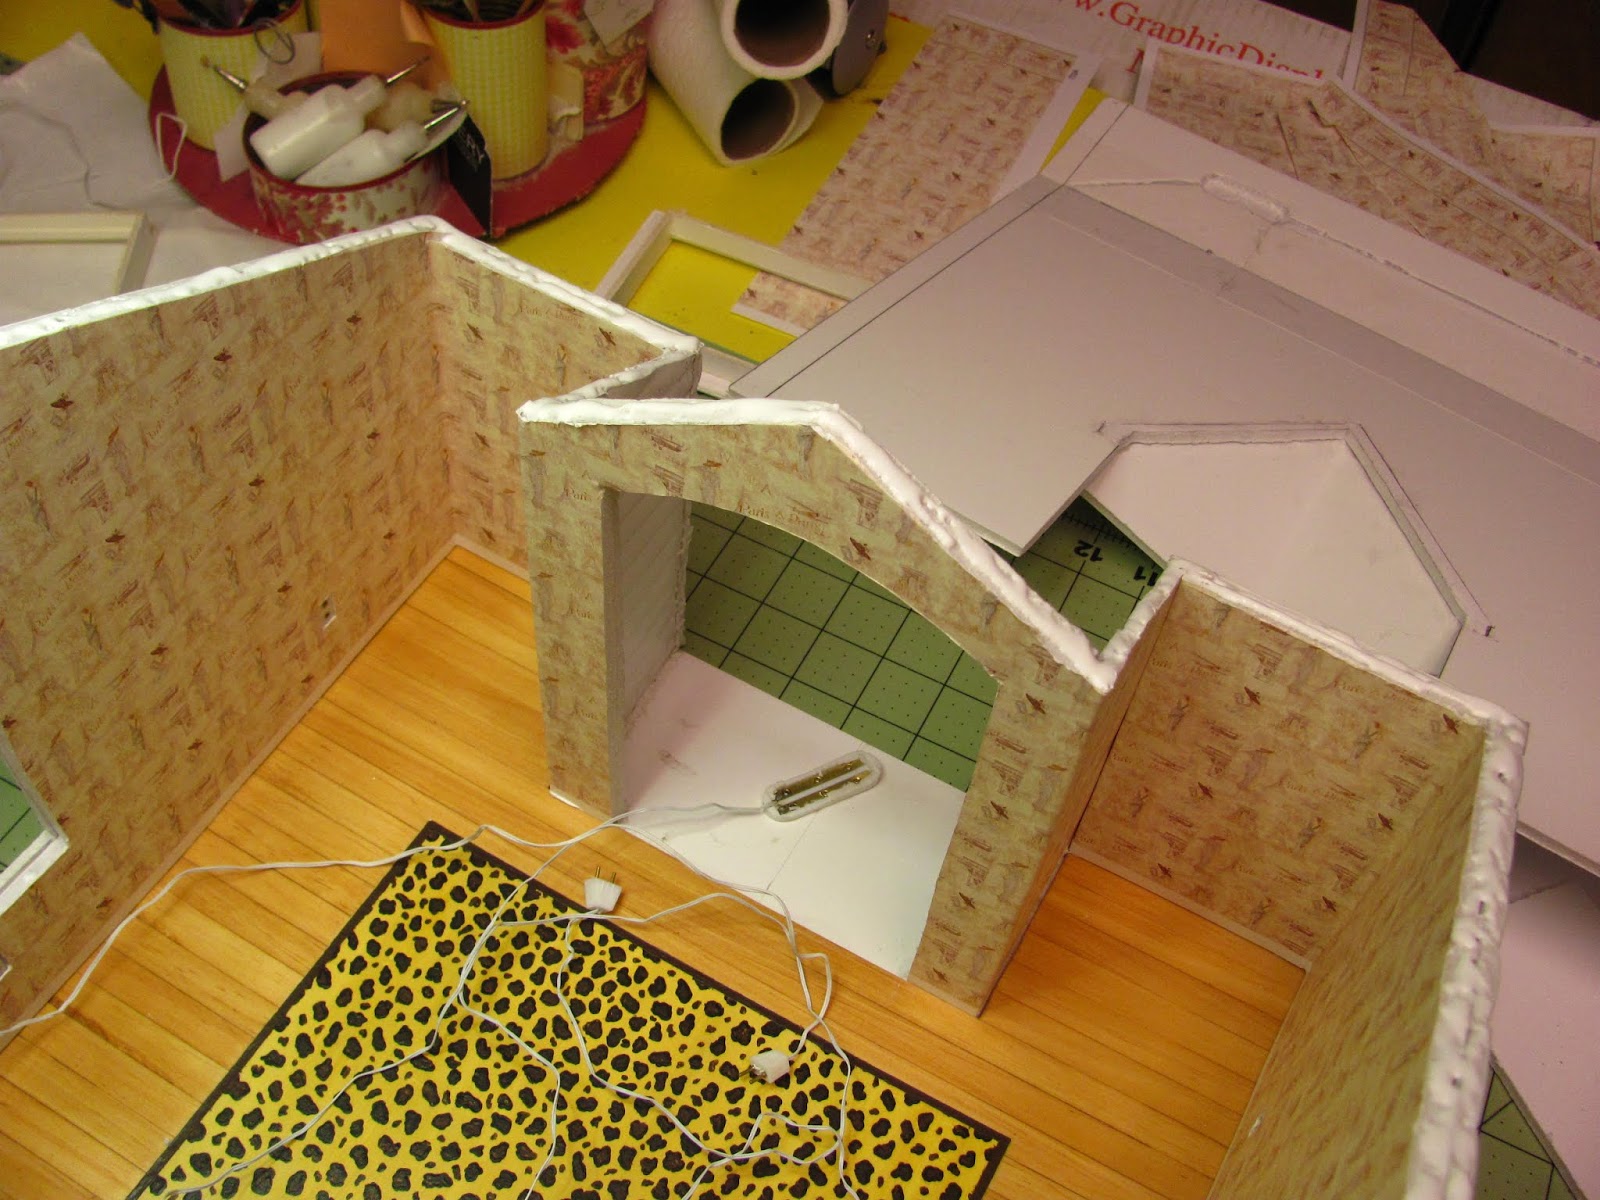
I went through my boxes of blog tutorials and found some that would work.
I am going to put a railing on the balcony and I might use the Bistro Table and Chair out there.
A stack of luggage would be cute.
I was hoping the secretary would fit. (It just fits!)
I am going to put a table and some chairs by the window.
I will hang a light from the ceiling over the table.
Since I lack in geometry skills I have a gap on the underside of the dormer window.
I filled in the gap with foam core.
The ceiling paper will hide it all!
I am not an expert in installing electricity in room boxes. I figure it out as I go using what I have on hand. Please, if you like other ways of doing the electricity you do that. I am just showing how I did it.
Remember, I have not glued my walls in.
I am going to use wire for my electricity. If you like the copper tape please use that under your wall paper.
I figured where I wanted my receptacles and cut out the holes in my wall.
I am also cutting out channels for the wire to run in.
I had a few packages of
"extension cords" from Circut Concepts I bought from Hobby Builders years ago. They come in single and triple styles. I am using the triples for my junctions. I am using the singles for my wall receptacles.
I was able to pop off the back of the part with the holes. This made it thinner. This is not all that important. Don't go cutting yourself trying to get the bottom off.
I glued paper over the back of the receptacles.
I have both of the single receptacles in my wall.
I am using the triple one as a junction.
I cut the hole out from the foam core.
Be careful, don't cut through to the wall paper.
I have my first receptacle wired in.
This is what I did. First of all I can't solder.
I stripped the wires. I left about 1/2" to 5/8" of wire exposed. I then folded that wire in half and twisted it together.
I then stuffed the wire into the holes.
Don't get carried away thinking that more wire in the hole is better. If you are pushing to much wire in it can break and you are left with wires that are too short to use. You will have to get a new receptacle and start over.
I covered the holes with electrical tape.
I can not emphasize enough to test every time you finish a connection.
I have a love/hate relationship with dollhouse lighting. There is nothing worse than installing the electricity and having it fail. It takes all the magic out of viewing the scene.
Here is the backside of the window wall.
I have run the junction wire up the wall for my ceiling light.
The other side will also have to be run up and over the ceiling so it all connects and makes a circuit.
Testing, again.
Glue your walls into the shell of the room box. I used tacky glue to do this.
I am going to have to glue on the darn roof before I wall paper.
I cut the ceiling paper out first getting it as close as I can so I won't have too much trimming to do.
I bought a roll of full-size textured wall paper a long time ago to use on doll house ceilings. It was a good investment.
I took out the braces I installed when I built the shell.
The room box is squaring up nicely and I won't need them.
AND, I don't want to wall paper over them.
You can see in this picture that I have cut out the hole and cut the channels for my electricity on the short side of the roof.
Before you glue the roof on draw a line 1/2" from the outer edges of the side of the roof. This line will help you get the roof on evenly. The
outside of the walls hit this line.
Apply tacky glue to the top edges of the room box.
You might need somebody to help you hold the roof on for a minute or two.
I used toothpicks to dowel the roof on.
I pierced a hole with a "T" pin, inserted yellow carpenters glue and pushed a toothpick in.
Let that dry and trim off the toothpicks.
Another picture showing my doweling.
This room box is very sturdy and you didn't have to have somebody cut the wood pieces for you.
I have installed the electricity in the ceiling.
Dry fitting the ceiling paper.
Happy with that.
I have it glued down and I have cut the paper out for the receptacle.
I have a little fold at the tip of the dormer, I didn't have my paper right, darn it!
Cut out the paper in the dormer leaving a bit to fold over and glue to the edge of the foam core.
Cut a triangle out and glue to the dormer.
My wires are running along the edge of the room box. I will cut a channel and cover them a card stock corner. I will probably paint the outside before I glue the outside corners onto the 4 corners of the room box.
You will need a transformer to finish off the electricity. I am going to use one that I have that is for tape wire but it will plug into one of my receptacles, with a little help. I said I use what I have on hand.
I am going to put in baseboard with the shoe mold all ready on. I am going to use a small crown molding along top of the walls.
I will also use a trim along the top of the outside walls under the roof to cover any gaps I may have.
I am getting there. I hope your are enjoy the journey.
I don't know how you are finding the blog. I have lost my e-mail notification function and would like to be able to find something that you all can use to be notified when I publish. Any ideas?
Have Fun, Expand On It, Make It Better . . . .
Just Keep Making Minis!
Kris